mercredi 1 juin 2016

Last days

 Thursday was mostly finishing the F holes and then France 3 came into Rémi's workshop to make a short clip on craftsmen's in the region. So we've been filmed about an hour and they stayed 4h for just 3:30 minutes of finished result. It was a bit stressful and hard to act normal in front of a big camera but I think we did alright ! I'll post the link when I'll have it !

The finished result :


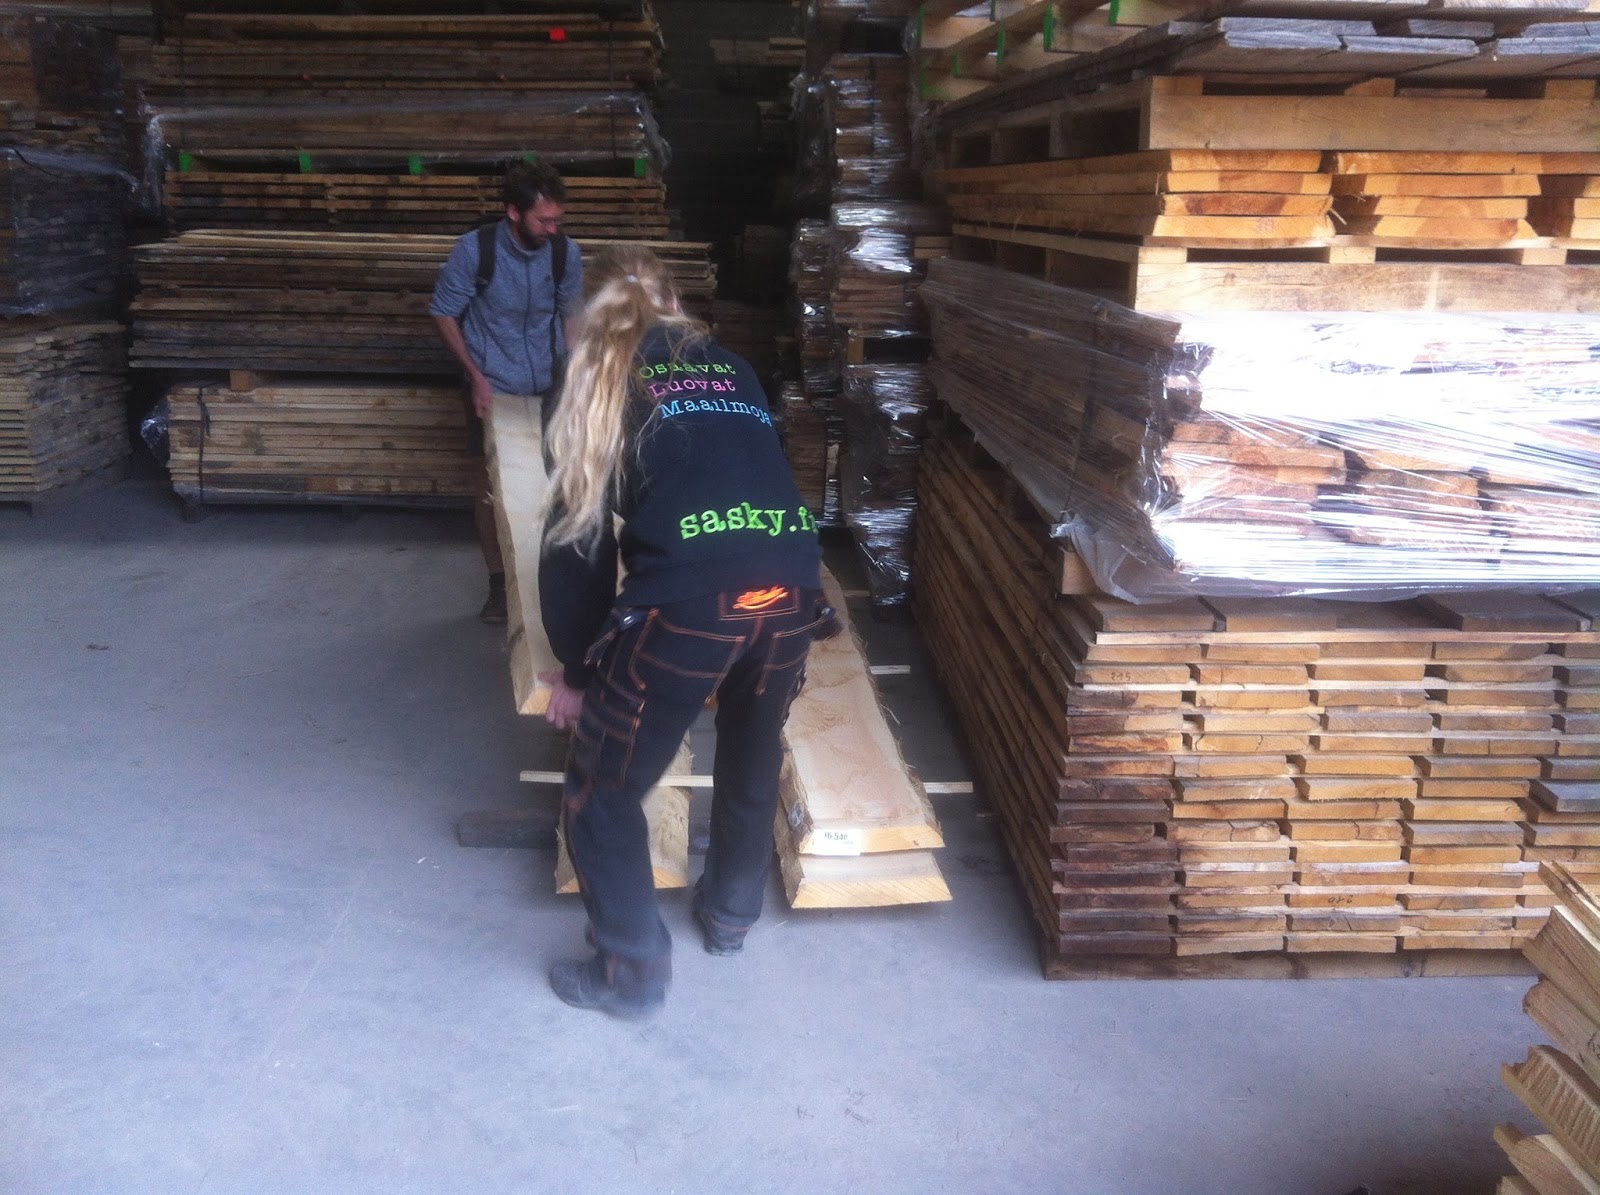
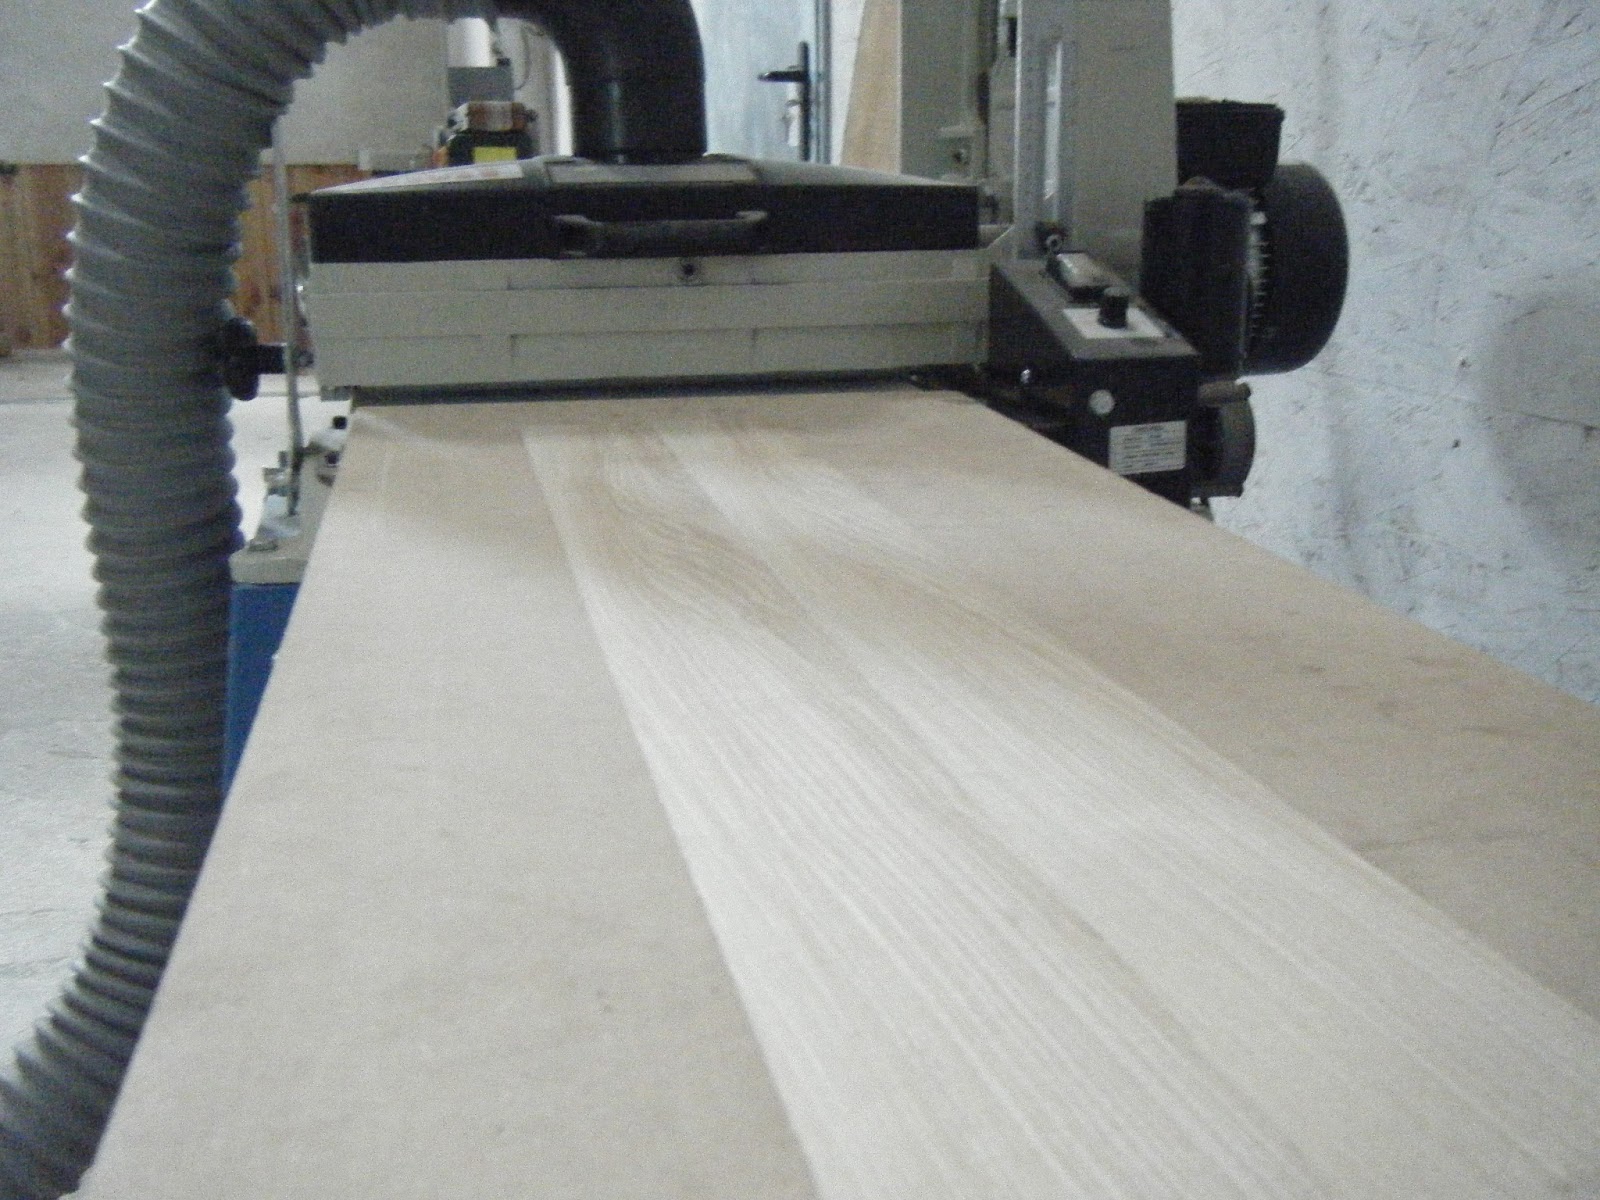
Friday morning we worked a big hour mostly doing small retouches and then with Rémi we had to do a small paperwork for the project. After that Rémi took some time with me to prepare an archtop set of walnut for me ! We had to get a huge plank from his tree chop it off, surface plane them and cut some ribs on another one. It was really interesting to see the process of preparing a guitar set.

In the afternoon we went for a walk in the town near by to see the old castle, had diner together and went to see an electric Hurdy Gurdy concert in the evening. Interesting people out there mostly carvers of all sort and artists.  If you want to check the guy out just type "hurdy gurdy Guilhem Desq" and you will find him on YouTube. His dad is making them for 20 years now so the one he's playing is actually hand made by himself.

 Here are some pictures of Rémi's workshop :


Notice his guitars with cedar and spruce, Rémi went to a conference and the guy was studying those two materials and his conclusion was that both of them together, on scientific tests, are better then just one of them. So Rémi had the idea to make this his signature and it's working quite well to get peoples eye's on the instrument ! 

 The End

If you have any questions fell free to ask !

mercredi 25 mai 2016

Day 7

F holes :

 The F holes are first cut with a fret saw or jewellers saw and then finished with a carving knife and file if necessary in the round spots but it's a good idea to avoid filing it tends to round of the edge. 
 Rémi cuts his F holes perpendicular to the plate and not the arching, there is several different ways of doing it this is just the most common. Some people likes to taper then a little so that you don't see the edge as much when looking on the side. Not much to say it's just another long and hard work if you do them by hand !

 Positioning the F holes with a flexible plastic template :


The f holes sawn :

Trimming with a knife :


Day 6

Hollowing

 Since the front is in walnut, I'm going to refer at back thicknesses for my plate. Basically for the centre (under the bridge)  Rémi usually brings it around 4.5/5 mm going down gradually to 2.8 in the re-curve area and a bit less in the waist because it will always end up stiffer due to the geometry of the arch and outline. For a spruce front same idea but thicker in the middle more around 6mm. 

 To rough out the plate Rémi uses the drilling technique wich consists of putting a pin under the drill and setting a thickness, usually you leave 0.5 or 1mm extra. Then it's just a matter of drilling a lot of holes in order to have a "depth stop" when you are hollowing. 
 I setted the drill to 5.5mm and drilled about 100 holes across the whole plate 

 The setting :

Afterwards it was just a matter of gouging and planing until the holes are gone, and then you thickness the plate starting from the edges.


 The plate hollowed :


lundi 23 mai 2016

Day 5

 Today's job was to finish the arching, after the re-curve was done I had to blend it with the arch. Then it was just a mater of going over the whole plate with a really fine adjustment on the planes to get all the ridges/bumps off. Later on it was time for scraping in every directions even cross or against the grain in that way you get most of the bumps and flats off. 

 Scraping and adjusting the arch :


 The arch is then sanded with a soft bloc and 80 grit in a circular motion starting in the re-curve, you then go through the grits to take the rough sanding marks away.

 The finished result : 


dimanche 22 mai 2016

Day 4

 Finalising the arch in order to start the re-curve or fluting of the plate. Rémi makes his re-curve between 0.5mm to 1mm deep, it is more for aesthetics then for the sound on the top part of the plate. The thickness of that area is adjusted from the underside when you hollow the plate. I think this is the way to go if you don't want a sudden and deep fluting. This also means that you can start hollowing quite close to the linings without leaving a flat step until the end of the re-curve

 I started the fluting with a small thumb plane and a toothed blade to prevent tear out, walnut is not a difficult wood but I would really recommend this on spruce !

 
 Notice the flat surface on the side, the current outline is 4 mm larger than the template and Rémi is aiming for 2mm of bindings and 2mm of purflings add an extra 1 mm to be safe and start your re-curve from that point. 

Day 3

 Today's work was basically getting the transverse arches done, roughing out the whole plate, carving with thumb planes mostly.

Here is the progress so far :


 Parabolic arching : basically this method consists of choosing where the highest point of your arching is and your final hight. With a formula you can find the aimed radius to make your templates. The long arch is generally composed of two radius because the highest point is not in the middle.

 It's a really simple and effective method to obtain a nice looking arch, Rémi got this method from Jacky when he was a student at the CMB in Belgium.

 Pictures of the drawing you need to make and the formula used in order to achieve a parabolic arch :


jeudi 19 mai 2016

Day 2

 So this morning I started with the long arch, what is interesting is that Rémi likes to put the highest point in front of the bridge (2 cm away) to obtain a more equilibrated tension on the bridge. If you put the bridge at the highest point, the bridge tends to lean forward because the break angle of the strings. So his bridges are actually leaning towards the tailpiece rather than being square with lets say the rib structure.

  Long arch (13mm + 4mm platform) :


 Roughing out this with a plane took a lot of time, there is a lot of wood to remove

 In the beginning of the afternoon around two we went with Rémi in a sawmill located at the entry of the biggest Oak forest of France named "foret de Tronçais"

On the road to the sawmill :


 Looking at some nice olive ash and obviously in a sawmill you need to go trough a lot of planks just to get the ones that are quartered but its fun to actually buy it in an other way than ready made sets at 4mm all sanded and ready to use !


 Back to the workshop after moving around about 25 planks just to get the best ones. Rémi bought some Chestnut, Robinia and some ash. When you see that you pay about 50€ to get a 1/4 sawn plank like this, I must say it's quite worth it event if you waste more than half of it because of defects.

 After the sawmill it was time for me to finish my long arch before going home.

mercredi 18 mai 2016

Day 1

 Hello everyone, I'm now here in the north of Auvergne in Rémi Petiteau workshop for the next 2 weeks. It's a really calm and peaceful place in the middle of nowhere ideal for making guitars !

 The plan is to make with Antti (Finnish student) an archtop back and front for the moment.

 The front and the back will be made out of walnut, the guitar is going to have a pick-up and according to Rémi walnut is good to weaken feedback and it also sounds great acoustically.   
 
 We will be working on some local walnut, Rémi found a tree that has been struck by lightning and decided to chop it down into planks. The humidity content is now around 9,2% (after 3 years) so it is ideal for guitar making.

 To start the week nothing better than having to do an archtop centre joint !

 To start the joint we use a planner to get a first good "flat and square" surface
Antti using the planner :


We then finish with a plane to get a perfect joint:


To check if the joint is good Rémi uses a technique that works really well :
When you push one end it has to pivot on the other end, if it pivots in the middle then you have a bump in the middle. And to know if it isn't concave he uses some really thin cigarette paper if it grabs all the way on both sides then it's a good joint.


Gluing the two pieces of walnut :


During the gluing time I chose some ribs with Rémi, the ribs are going to be some local olive ash. Since the top and back are in walnut, I think it's going to make a nice contrast.

Thicknessing the ribs to 2.1 with a drum sander :


Finishing with a scraper and bringing the cutaway area thinner :


After lunch we where able to start working on the top and back, taking care to not stress the joint to much.
The first step was to get a good flat gluing surface for the ribs :


Rémi draws the outline as if it wasn't a cutaway guitar and arches the hole top as if there wasn't any cutaway. This makes a nicer looking arching, you just need to make the binding taller in that area.


Roughing out the edges near 4mm to make a platform :


Platform finished with a router at 4,2 mm :


End of the day !